

Build an app locally
How Python/JS app development works — the scaffold, server-side data access, the dev loop, and syncing your own repository to a Keboola project.
Build an app in your own environment when you want full control over the code, your editor, and your Git workflow. Keboola still hosts and runs the app — it clones your repository, installs dependencies, starts the app, and serves it behind a secure URL. You don’t manage servers, ports, or Docker: only your code and a small configuration folder.
For what the Python/JS stack can do (frameworks, full-stack, APIs for agents), see What are Keboola apps.
Before you start
Section titled “Before you start”- A Keboola project.
- Your local development tools.
- Optionally, your own Git account if you want to manage the repository yourself.
App structure
Section titled “App structure”A Keboola app is a standard web app. The typical scaffold is:
src/App.tsx— the frontend (React).server/index.ts— server-side API routes (Express).
All data-fetching logic — SQL queries and anything that uses your Storage token — belongs in the server-side routes.
// server/index.ts — example route (illustrative)app.get("/api/rows", async (req, res) => { // Use the Keboola Storage client here, server-side only. // Never expose your Storage token to the browser.});Develop with an AI coding tool
Section titled “Develop with an AI coding tool”You can build the app with an AI coding assistant (Claude Code, Cursor, or Copilot). When you create a Python/JS app, Keboola offers a ready-made skill file — Download Skill or View on GitHub — that teaches your assistant the correct app structure, deployment config, and Keboola APIs, so you get working code with fewer errors. The app’s Overview also links it as AI Skill for Building.
The skill file can also be downloaded directly. For the full toolkit — including the Data App Developer plugin with its validate → build → verify workflow — install AI Kit in your assistant:
/plugin marketplace add keboola/ai-kit/plugin install dataapp-developer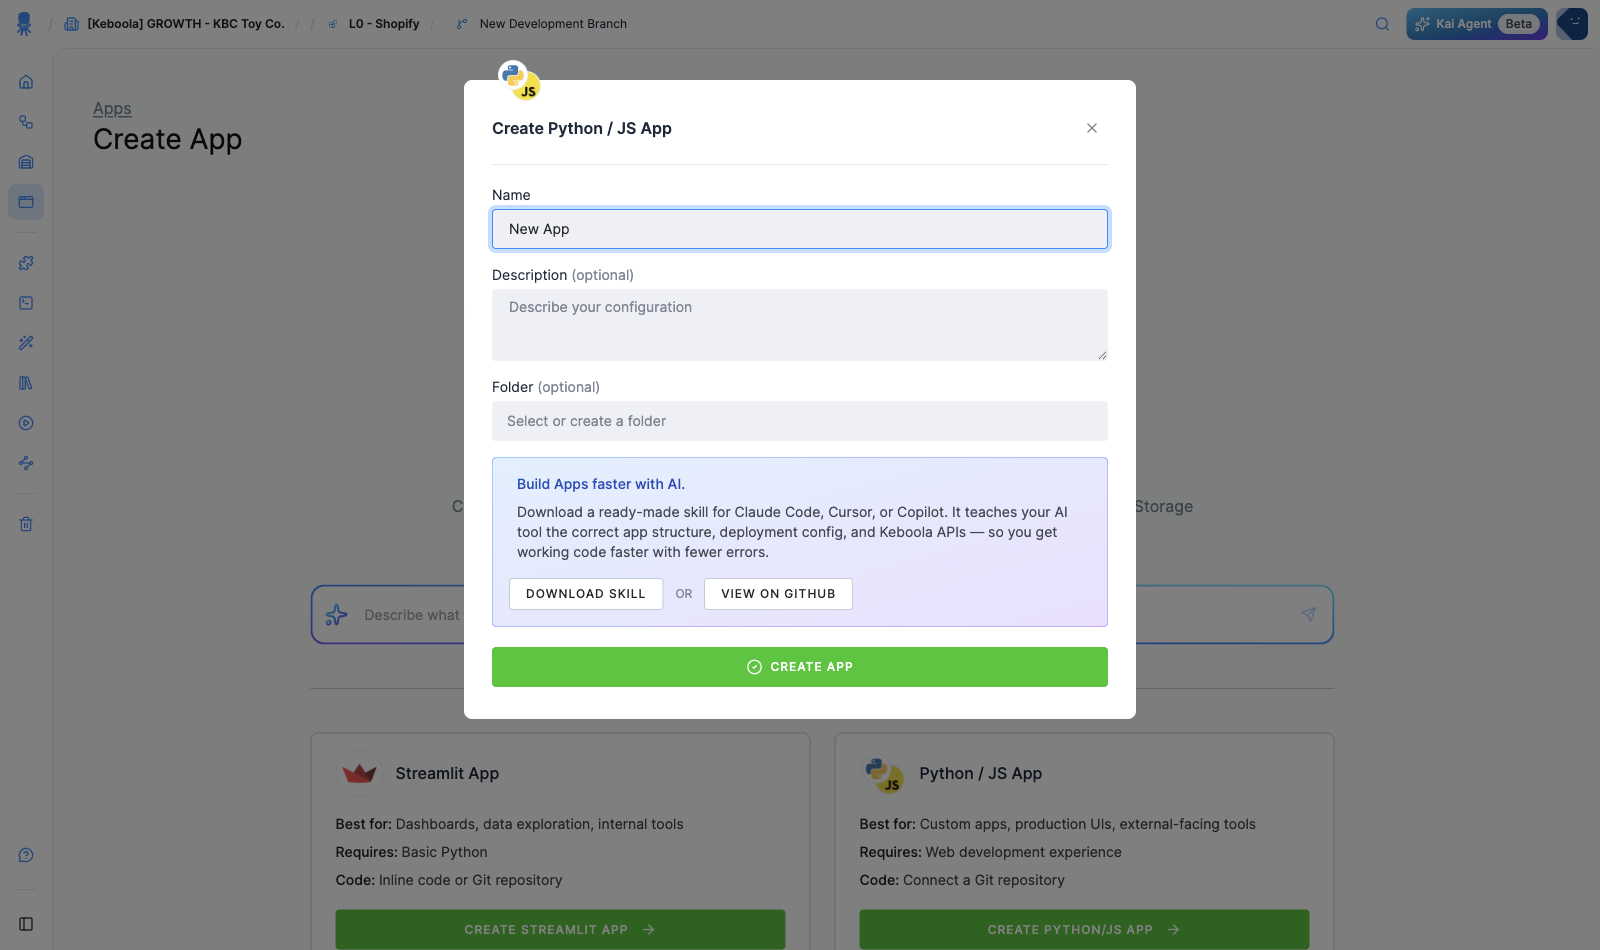
How development works
Section titled “How development works”The day-to-day loop, whichever way you build:
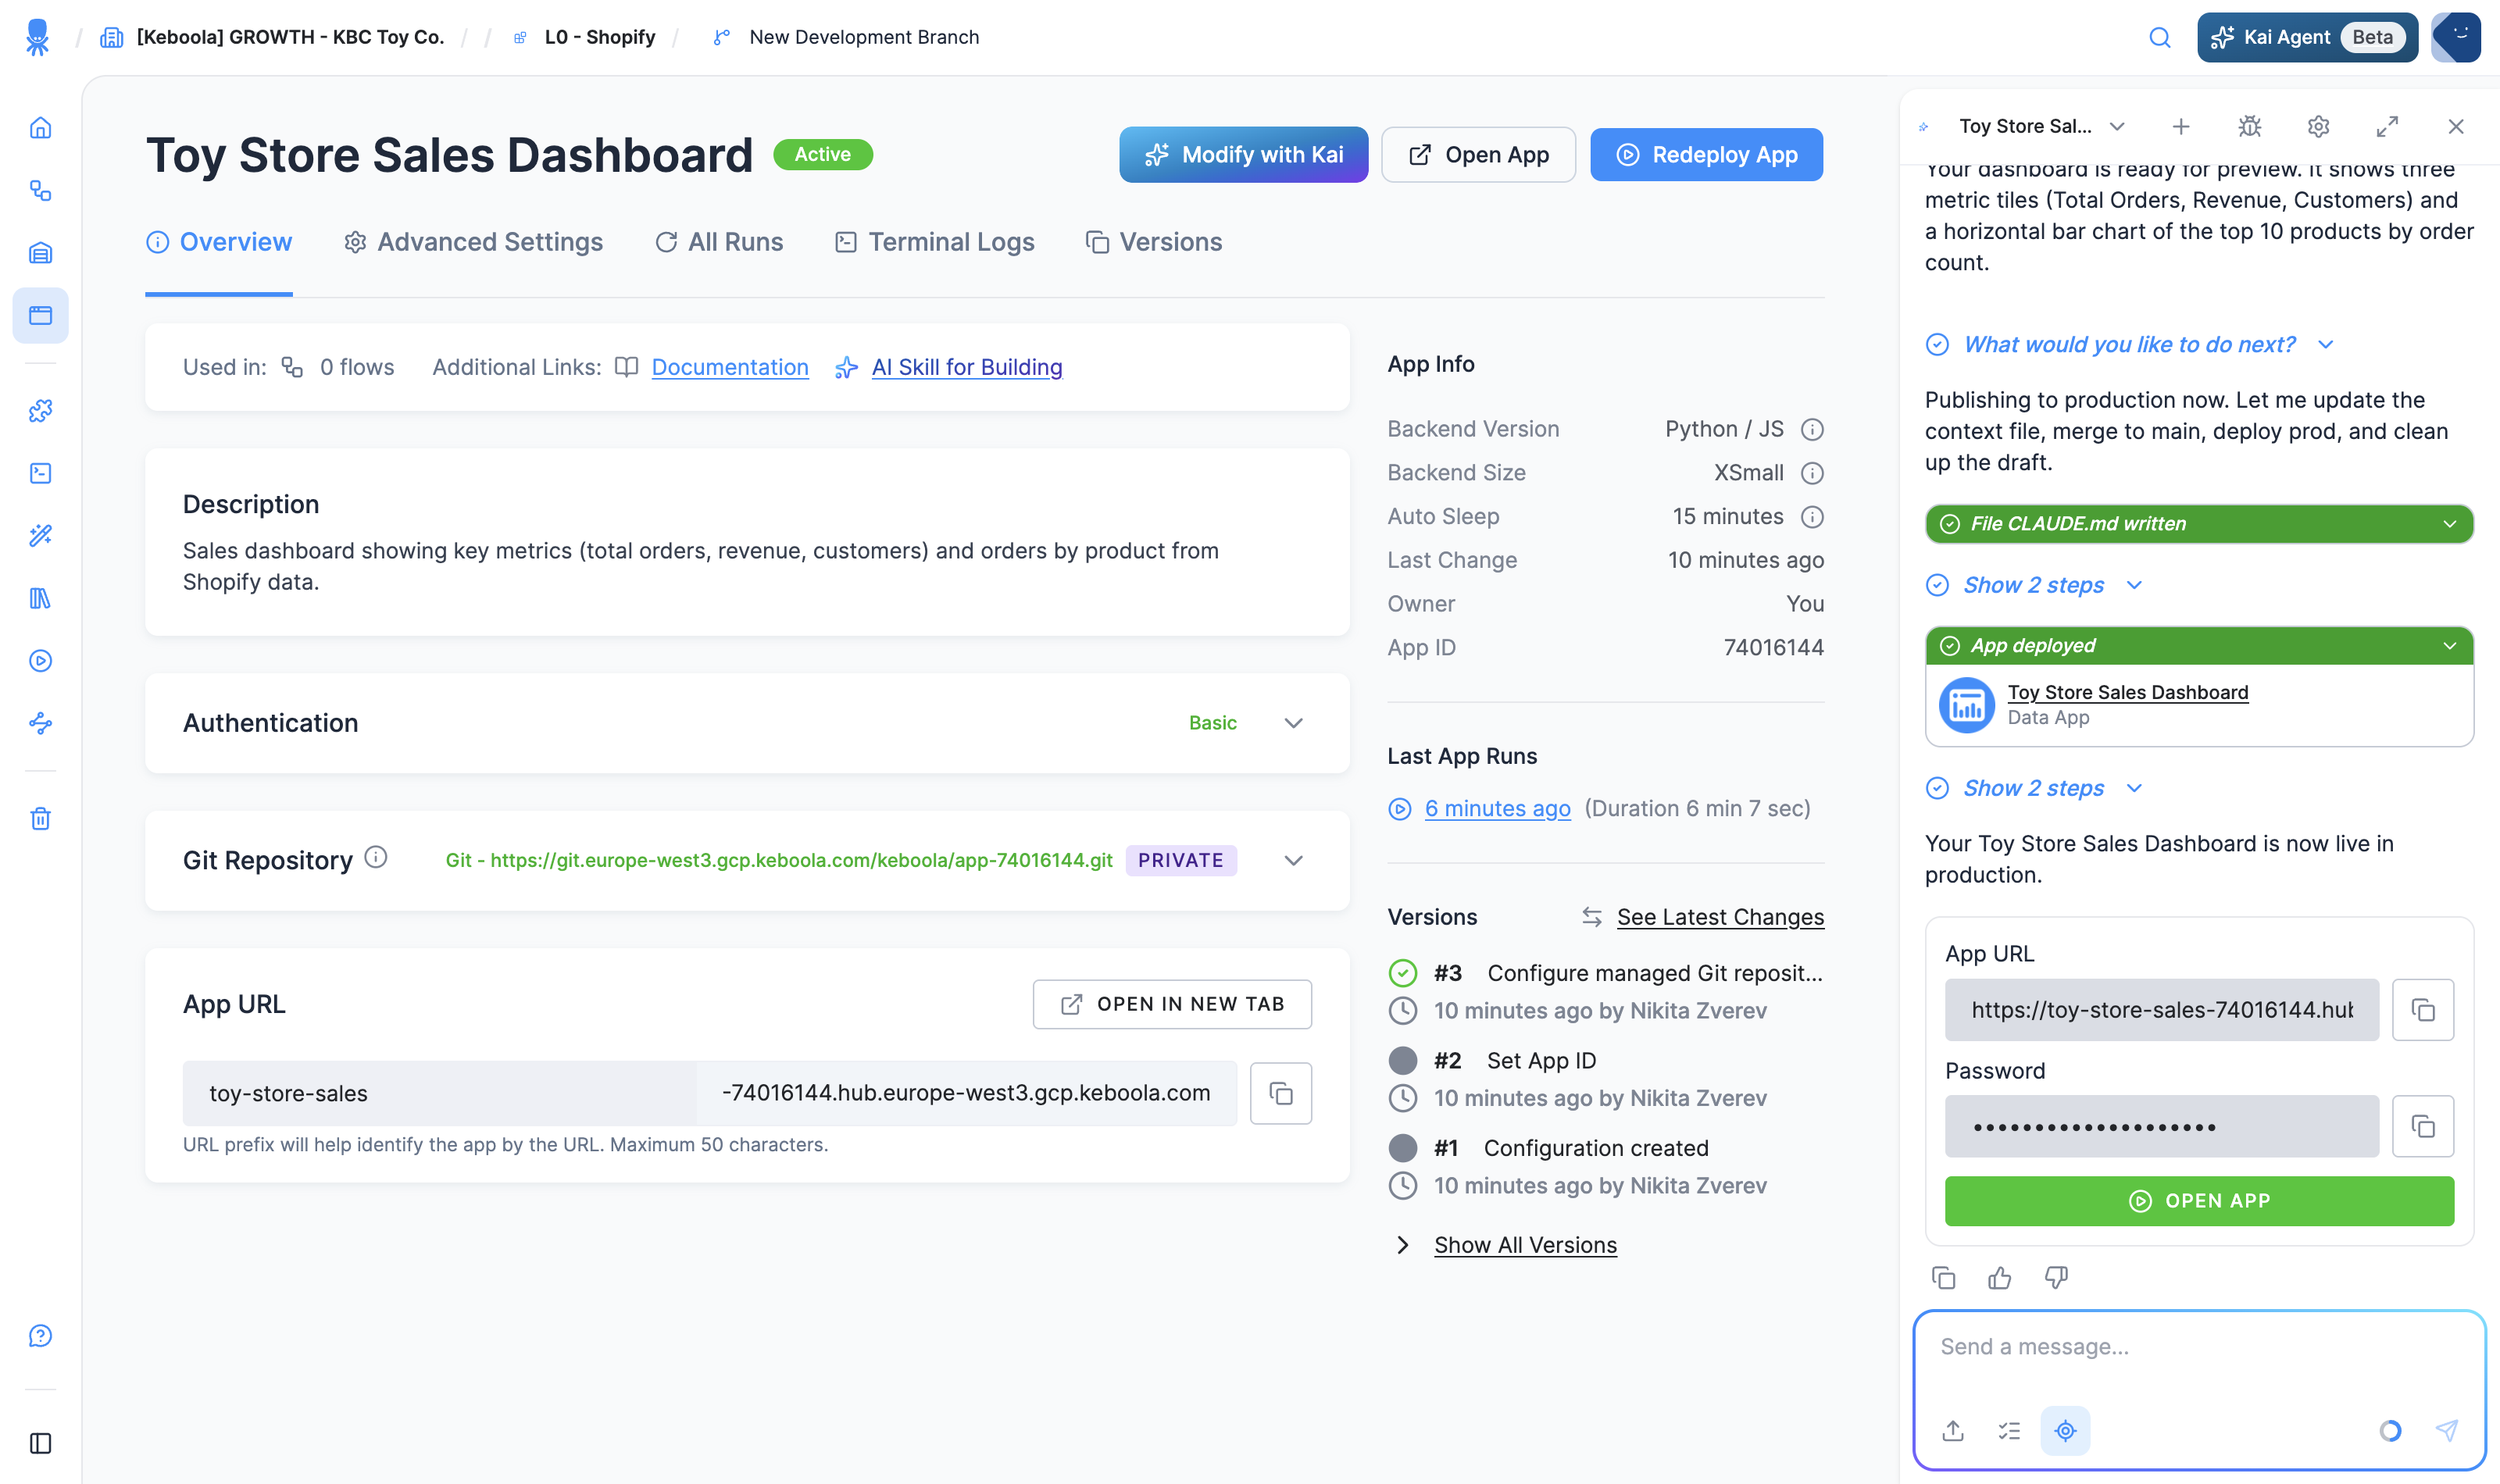
- Code lives in a Git repository — yours, or a private Keboola-managed repo that Kai creates for the app (
git.<stack>.keboola.com/keboola/app-<id>.git). - Data access happens server-side. Your backend queries Storage (Storage API or real-time SQL via the Query Service) using the auto-injected
KBC_TOKEN— the browser never sees the token. Environment variables and code patterns are in Reference → Data access. - Ship a change: push to the connected branch and hit Redeploy — or, if Kai built the app, just tell Kai what to change.
- Debug on the app detail: the app’s page has Overview / Advanced Settings / All Runs / Terminal Logs / Versions tabs (a Drafts tab appears while a draft exists). Env variables, theme, and data mappings live under Advanced Settings. The app sleeps when idle and wakes on the next visit; drafts hot-reload as Kai edits.
Sync to your project
Section titled “Sync to your project”Keboola runs your app from a Git repository you point it at. Develop locally, push, and connect the repo:
- In your project, create a Python/JS app (Apps → + Create App → Python / JS).
- On the app’s configuration page, open Git Repository and set the Project URL. For a private repo, toggle Private and add your credentials.
- Pick the branch (Load Branches) and the entrypoint.
- Click Deploy App. Keboola clones the repo, installs dependencies, and runs it. Push changes and Redeploy to ship them.
Access your data
Section titled “Access your data”Apps read Keboola data through Input Mapping, the Storage API, or Storage Access (real-time SQL via the Query Service). See Reference → Data access for environment variables, code patterns, and Storage Access setup.
Next: Authentication →